Do you suffer from 'Decorating Inertia Syndrome?"
I do, more times than I care to admit. I'm gung-ho on a project, and then I run out of steam before it's totally finished. I swear, I don't think I have one room in my house that is 100% "done."
Most of the time, it's because I'm stumped…and can't make up my mind about what to do.
That's what happened to me when it came to putting the finishing touches on my mud room.
Back in March, I wrote about our major mud room renovation. My vision for designing a wall of built-in cubbies was 20-20, but…
... as far as the opposite wall…let's just say that my vision was clear as mud. I had no idea what to do with this...
Long. Blank. Wall.

The coat rack? I couldn't decide whether to stain it, paint it, or take it down.
One thing I knew for sure was that I wanted to hang some family photos, but I couldn't decide whether to do lots of pictures, or just a few. Then I remembered that I had bought six picture frames at Costco awhile back. They had been sitting on the floor in my family room for about a year.
I combed through my photo library for some favorite vacation pictures.
After playing around with arrangements on the floor, I decided I liked this one.
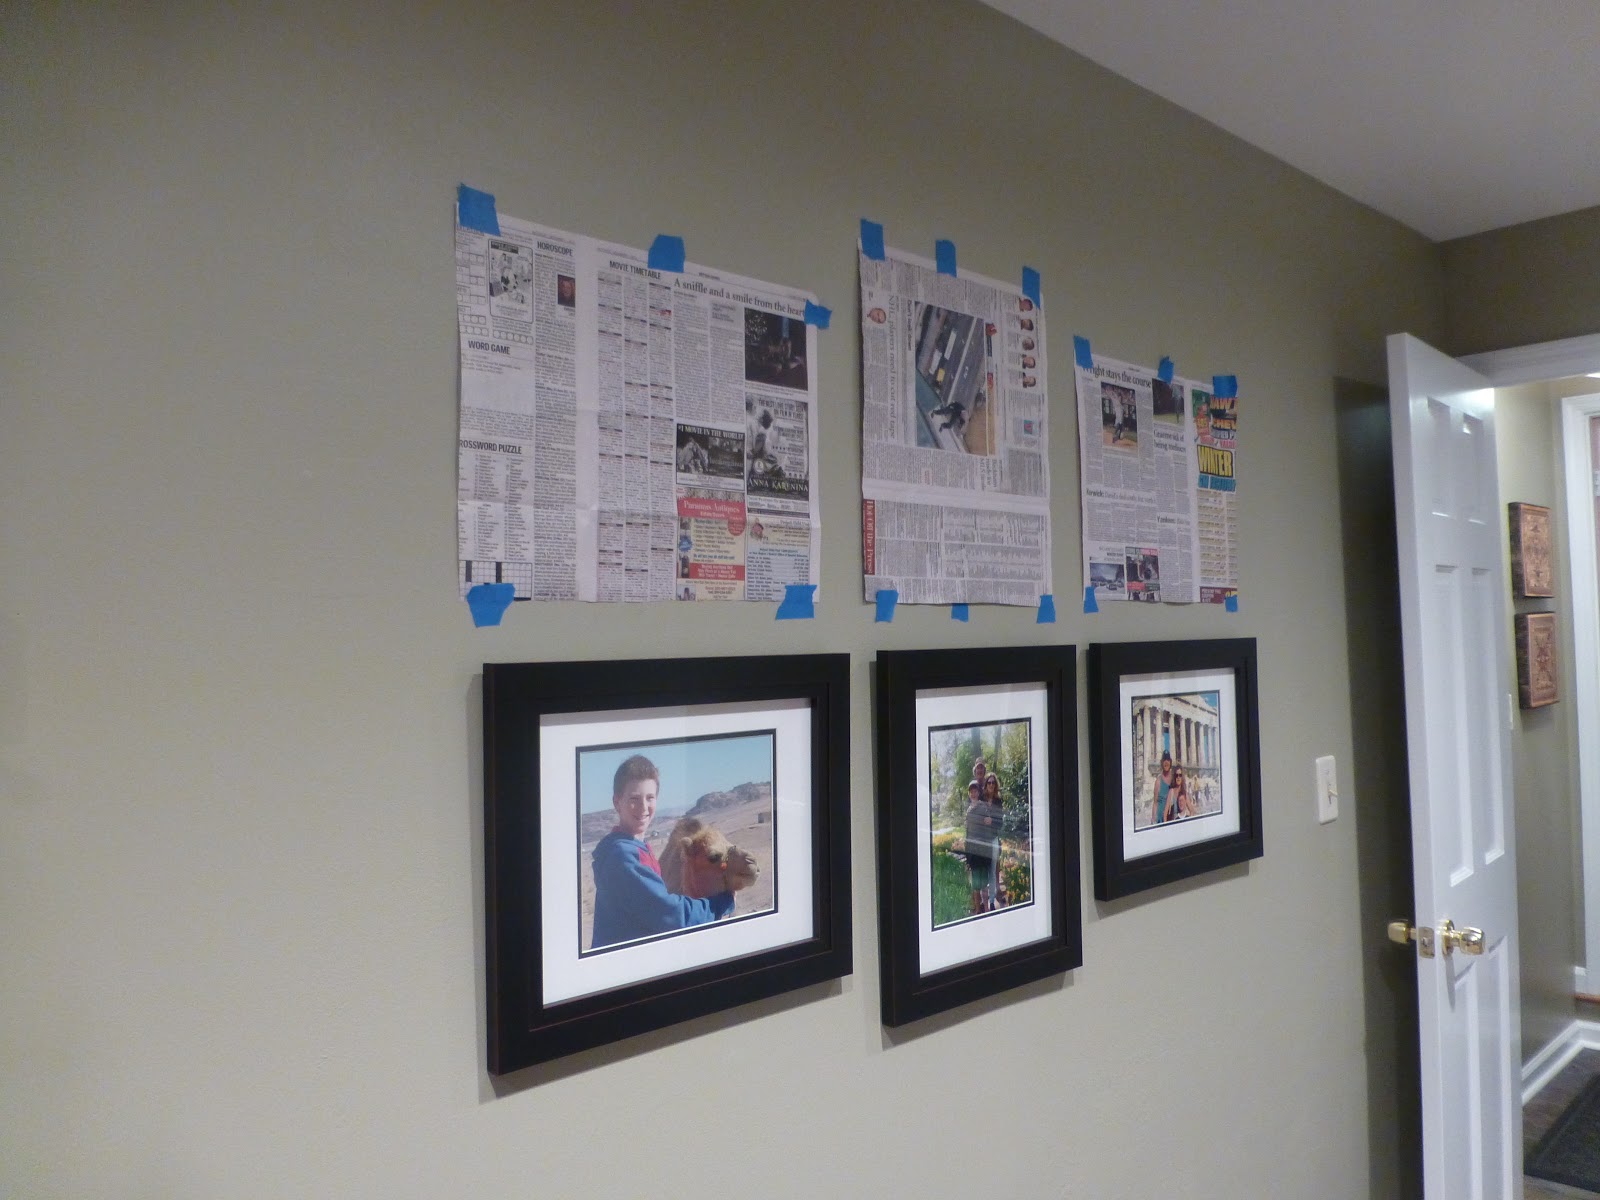
I made templates of the frames out of newspaper, and positioned them on the wall. I saw this tip years ago in a magazine, and it's a system that's worked for me many times. Truth be told, I don't always get the nails in exactly the right spot, so sometimes I end up with a few extra holes behind my pictures. Don't tell anyone.
Whew…I got the bottom ones to line up.
Did it!
Once the pictures were hung, I thought about painting the coat rack black. But I changed my mind, because I didn't want the black to be the dominant accent color. It was just too…black.
Ultimately, my inspiration came from the brown baskets and the window shades. (The paint color looks off in this picture, because it's a dreary day today. It's Elemental Green from Benjamin Moore's Affinity collection).
I stained the coat rack with Min-Wax Wood Stain. The color is "Provinicial."
It only took about 15-20 minutes. I didn't bother to sand it...I just slapped the stain on. It dried super-fast.
I love the way it looks against the green paint.
Maybe I should put those ice skates away for the summer.
No more boring, empty wall.
I'm really happy with how it turned out.
There is one more corner to tackle in this room. I have no idea what to do here. Whatever I do, that hole in the wall (where the gas meter is) has to be covered. Ugh.
Any ideas? I feel "Decorating Inertia Syndrome" coming on...
Ms. Toody


You're so lucky to have a mud room! I plan on having one in my next house because I think it is so important in the design of a house. I think yours is lookig good! I love the color you used on the wall and the way you've organzied it.
ReplyDeleteThanks, Kelly! Now if I could only get my family to actually use it… ;)
DeleteI just love your mudroom! I wish I had one. And, if you move some of my pics in my house you might see more then one hole as well...LOL
ReplyDeleteThanks for linking up at Throwback Thursday!!
xoxo
Denyse
Thanks Denyse, I just wish I could keep it as neat as it is in the pictures!
DeleteGlad I'm not the only one that has holes behind the pictures. Great job on your mud room. You've inspired me to do something with mine.
ReplyDeleteThanks for sharing at Throwback Thursday!
Thanks, Alli, I'm really happy with how it came out. And I won't tell about the holes behind your pictures, if you won't tell about mine!
Delete